Saturday, 4 May 2013

Pouring Art - Expressing Different Views

This Friday, we started our art time with the question "why do we make art?"
The children expressed their ideas:
  • Howard - people like to do art.
  • Orin - we make art nicely.
  • Simone - it's fun to make it!
  • Pauline - for decoration.
  • Alfie - it's pretty to look at.
Then, we found that there are art or pictures inside many of our books. The pictures help us understand the books better. As well, we draw pictures or cards at school for mommy and daddy. Isn't it a great way to express ourselves through art!? 

Ann - "I wonder if everyone would have the same thought about a piece of art." While we know art is a way to express ourselves, we started to wonder if we have different ideas about the same piece of artwork. We did a survey to see how the children think about that. There were 13 children thought people would have the same thought about a piece of art work; while 19 children (some changed their mind) raised their hands to agree that people might think differently about a piece of art.

Then, we watched a clip of Holton Rower's painting. After the video, the teachers expressed what they think of the art.
Ann thought the art was very colourful, but it felt heavy with so many colours.
Mary thought it was calm to watch the paint dripping down.
Sunny thought it was calming and brought her a peaceful feeling. 


Alfie wondered - "But... what is this art about?" 
The children were eager to express what they think the art work means.
Sarah - "it's like a rainbow!"
Simone - "maybe it's a decoration."
Enxin - "a colourful box."
Orin - "it might be a present inside the box!"

Many artists express themselves through artwork. By admiring the art work, we are triggered to think and express ourselves as well. It's wonderful that we, being open-minded, can express and share different ideas about art.

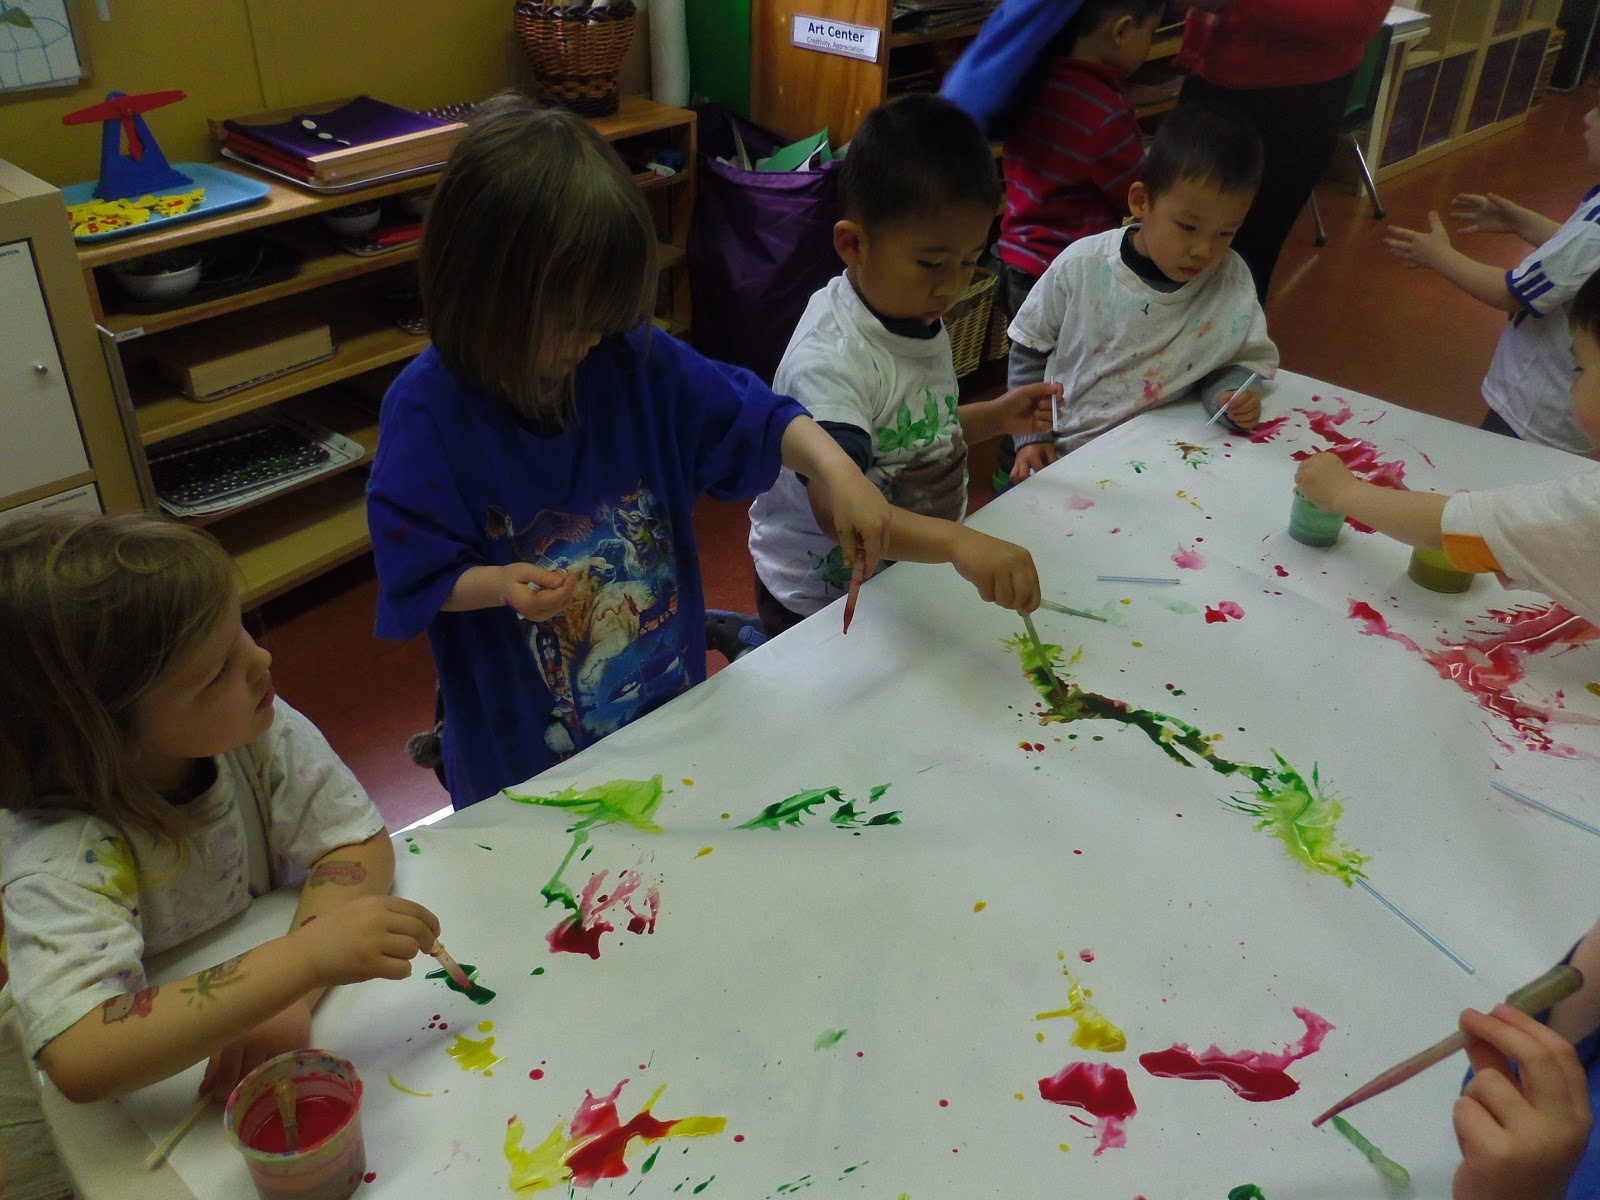
The children all had a chance to make pouring art.


Saturday, 27 April 2013

Express Yourself (Sound Travels) - little blue & little yellow

This week, we started our new unit - Express Yourself (Sound Travels)!


I read the story "Little Blue and Little Yellow" by Leo Lionni. The children connected to what they've learned in our colour unit right away when they saw the book cover.

According to the notes at the end of the book, I explained to the children that Leo created these pictures for his grandchildren on the train. He ripped paper from a magazine to help him tell the story.

We discussed how it is a good way to tell a story. Story telling is an important part of expressing ourselves! Then, the children were asked to close their eyes and think about a story they want to share.Taking some time to form the ideas we want to share is a way to practice reflecting skills.

The children tore or cut coloured tissue paper to create pictures for their story. The teachers helped the children to record the words of their story.


Here are some stories the children want to share:

"This is the swing!
And the slide in our play ground."
"This is Julia; and this is me!
We live close to each other."


The children created pictures to represent their ideas visually to help them express themselves more easily.

Friday, 12 April 2013

Water and Oil

The children were fascinated by the magical white crayon message and water colour last week.
So, we continued to explore how water and the other materials affect each other this Friday.
The children were asked "what are some differences between water and oil? or what are some similarities?"
Julia - "water is white (clear); oil is yellow!"
The children also agreed that both water and oil flow; they are liquid.


"What will happen if we pour oil into a cup of water?"
Orin - "the water will become yellow!"
This experiment reminded the children colour mixing from our colour unit.
As Ann poured in the oil, the children were all amazed that the oil floated on the top of the water and they didn't mix together.
Henry - "It's like bubbles"


Then, the children had a chance to do the experiment with oil, dish soap, and coloured water.
We observed the colour and oil pattern changes in the water.


As well, the children used oil and brushes to draw or leaves messages on a piece of paper.
We could not see the picture clearly when the oil dried on the paper. However, we could make the picture show up when we dipped our paper into the water with blue food-colouring because water and oil don't mix!


Friday, 5 April 2013

White Crayon Message

The children explored how white crayon and water colour work together to create magical picture.
First, the children used the white crayon to draw their picture on the paper.
"I cannot see my picture!" the children said.


Then, Ann showed the children how water colour can help us to see the white crayon trails on the paper. The children were excited and amazed when they saw their pictures showed up on the paper.
"Pauline, Look! It's like magic! I will show you," said Julia. She was so eager to show her friends how to create the picture.


Here are some beautiful pieces of art work created by the children.


Friday, 22 March 2013

Water Colour & Coloured Ice

Anamaria and the children brainstormed about the function of water.
"What can we do with water?"


The children and the teachers discussed that how we use water during art time.
We found that we might be able to draw with paint directly; however, we could not draw with dry brushes and water colour!
Then, the children explored and painted with water colour. They enjoyed mixing colours and applying different amount of water to create thicker or thinner colour for their art work.


As well, Ann, Camille and the children explored art with another form of water - "ice."
The children observed how coloured ice melted on the paper and left a trail on it.
Together, the children made a piece of beautiful cooperative art.


Friday, 15 March 2013

Bubble Art

The coming Sunday, March 17th is St. Patrick's Day. This Friday, the children learned about the history of St. Patrick's Day and how people celebrate.  To link our art with St.Patrick's Day, we did green bubble art!

I can feel the wind on my palm!
First of all, we needed to practice how to blow air on our hands since we were going to blow bubbles with a straw. The children blew air into green soapy water to make bubbles.


Then, we put a piece of paper on top of the green bubbles to create beautiful patterns.
 
green shamrocks!
The children also used eye-droppers, straw, coloured water to create a cooperative art work. While dripping and blowing coloured water on the paper, the children recalled colour mixing from the colour unit. The children also enjoyed adding water on the paper to create a puddle!


Friday, 8 March 2013

Moving Droplets

We continued to explore the movement of water.
Starting with some videos about water droplets, the children gained more ideas about how water droplets move.


Then, we split into different stations to explore various water-drop movements.

First of all, the children used eye-dropper to drip coloured water from the top of our easel to create a collaborative picture. The children enjoyed watching the droplets dripping down the easel and mixing different colours when the droplets met on their journey. 
The children use white glue, water colour and salt to create their water drop picture. We squeezed glue bottle to make big drops and add salt to make a little splash!


The children could recall the field trip to the Kitsilano beach as they create pictures on a tray with rocks, sea shells and blue water. 


As well, the children had a fun water-drop game. The children use straws to blow blue droplets on a piece of baking sheet (wax paper). We observed how droplets move. Some children liked to see how fast their droplets could go; on the other hand, some children liked to watch how a big droplet splits into many smaller droplets!