Deb and Mary also explained why Coast Salish people have the Potlatch party. Coast Salish people prepare feast and give gifts to their guests. As well, they dance and celebrate together. In addition, first nation people have a habit of giving the first fish they catch in a year to others, in order to wish for more fish and to show their thankfulness to Nature.
Tuesday, 19 February 2013
Weaving for our Potlatch party
The children applied the weaving skills which they've practiced to make gift boxes for our Potlatch party. We observed the beautiful clothes on the Coast Salish doll, which Deb brought in for the children.We discussed about how first nation people make yarn and how to colour the yarn. The children shared their ideas about using sunflowers, berries or charcoal to make coloured yarn.
Sunday, 10 February 2013
Chinese Almond Cookies baking
For
the Lunar New Year celebration, Anamaria and the children also baked Chinese
almond cookies to share with everyone. The children enjoyed rolling and shaping
the dough into little cookies.
Recipe
for Chinese almond cookies:
Ingredients:
- 2 cups flour
- 1/2 teaspoon baking powder
- 1/2 teaspoon baking soda
- 1/8 teaspoon salt
- 1/2 cup butter
- 1/2 cup shortening
- 3/4 cup white sugar (can add up to 2 more tablespoons, if desired)
- 1 egg
- 2-1/2 teaspoons almond extract
- 30 whole, blanched almonds (one for each cookie)
- 1 egg, lightly beaten
Preparation:
1.
Preheat oven to 325 degrees Fahrenheit (162.5 degrees Celsius).
2. In a large bowl, sift the flour, baking powder, baking soda, and salt. In a
medium bowl, use an electric mixer to beat the butter or margarine, shortening,
and sugar. Add the egg and almond extract and beat until well blended. Add to
the flour mixture and mix well. Note: The dough will be crumbly at this point,
but don't worry - that is what it's supposed to be like.
3. Use your fingers to form the mixture into dough, and then form the dough
into 2 rolls or logs that are 10 to 12 inches long. Wrap and refrigerate for 2
hours (this will make it easier to shape the dough into circles).
4. Take a log and lightly score the dough at 3/4 inch intervals so that you
have 15 pieces and cut the dough. Roll each piece into a ball and place on a
lightly greased cookie tray, approximately 1 1/2 inches apart. Place an almond
in the center of each cookie and press down lightly. Repeat with the remaining
dough.
5. Brush each cookie lightly with beaten egg before baking. Bake for 15 minutes
to 18 minutes, until golden brown. Cool and store in a sealed container.
Happy Lunar New Year
This weekend is time to celebrate the Lunar New Year!
We wave goodbye to the dragon year and welcome the snake year.
Deb showed the children some videos of lion dance and dragon dance. Chinese people believe that lion dance and dragon dance can bring people good luck and fortune for the New Year. The children also lined up to pretend doing dragon dance.
Click to see the videos (Chinese New Year for Kids)
We talked about how people write down good words and wishes for the new year on red paper. Chinese people write spring scrolls and hang them at home for Chinese New Year. Ann show children how to write "新年快樂" (Happy New Year) on spring scrolls.
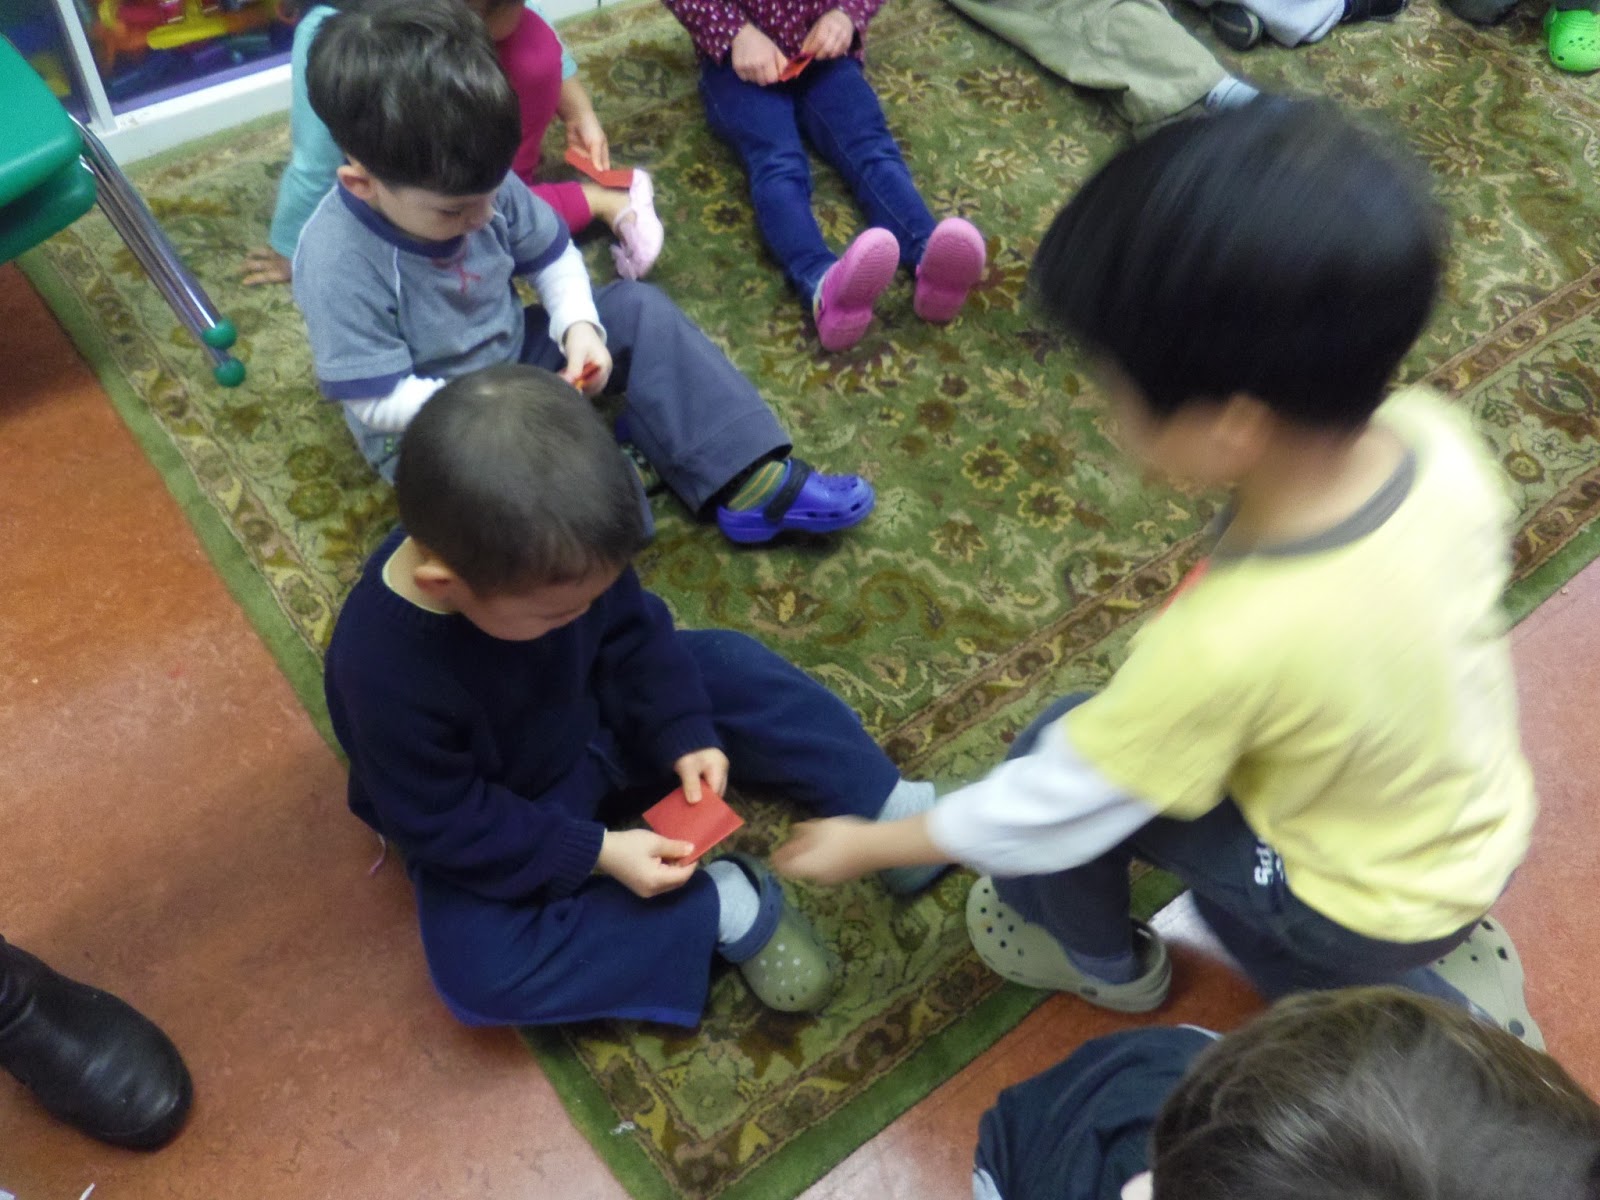
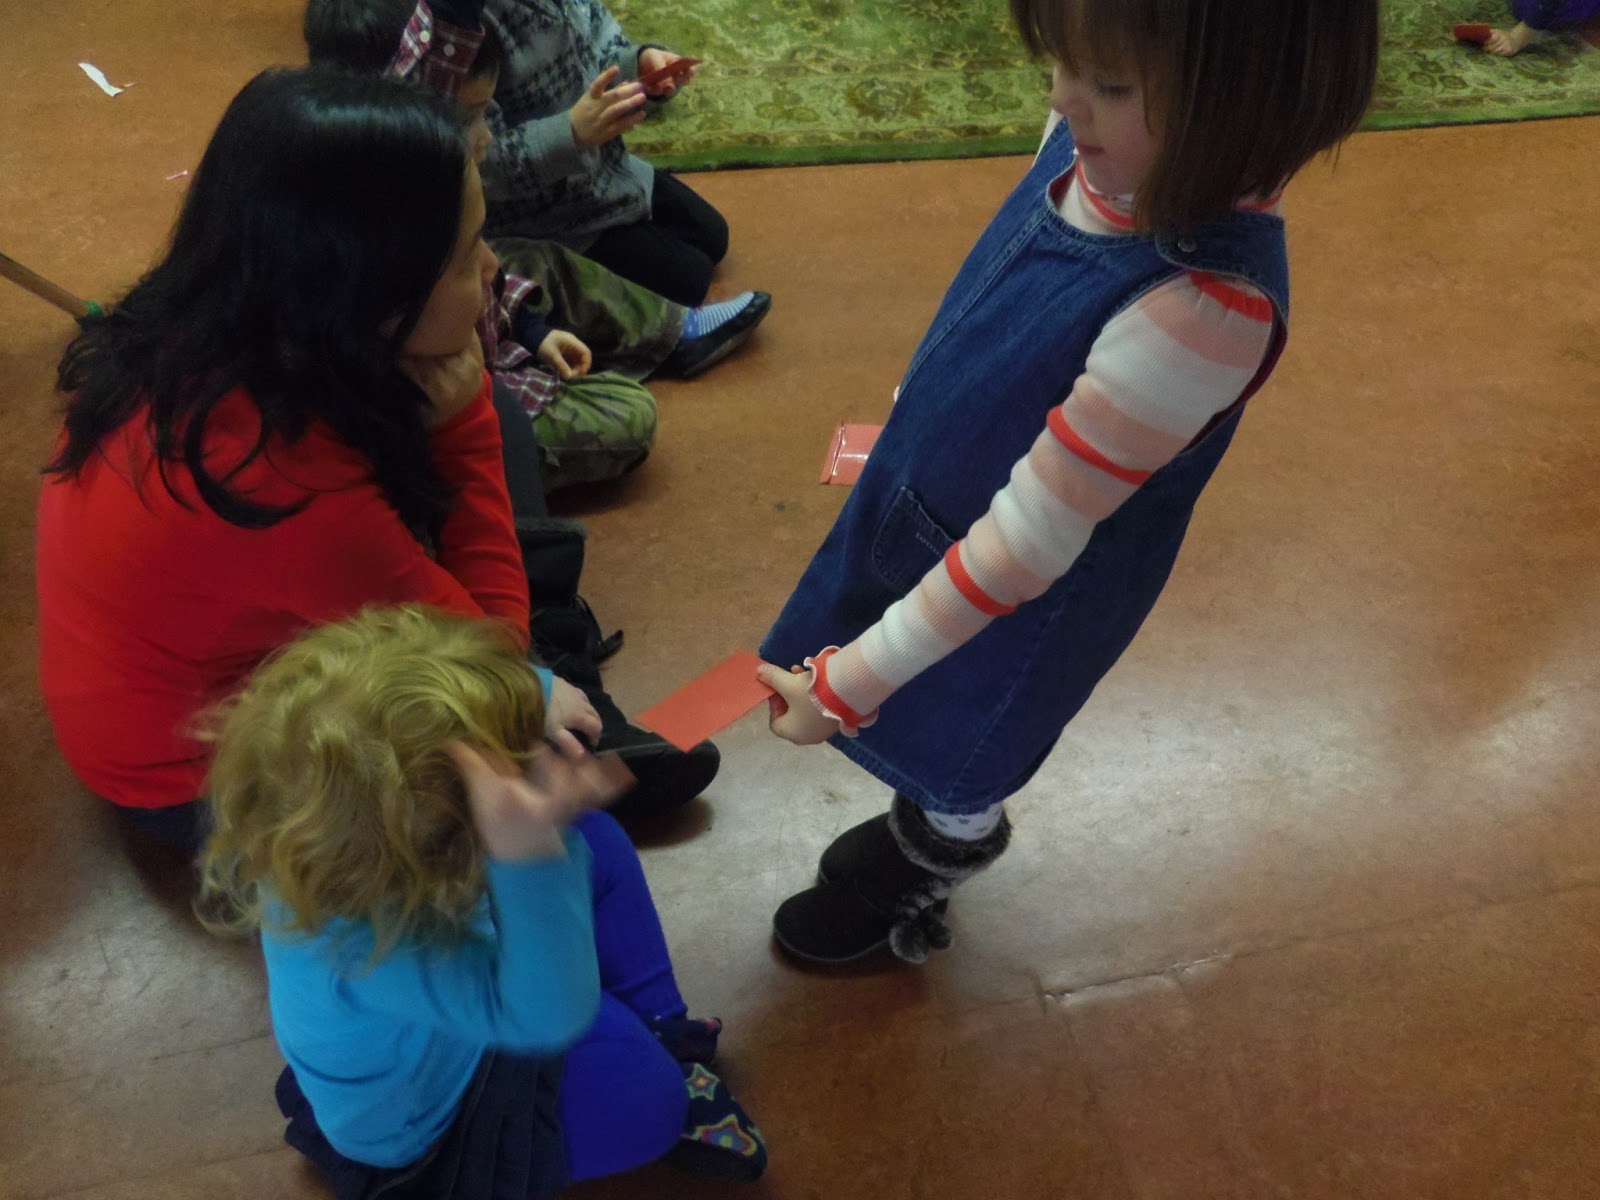
Associating to our "generosity" unit, the children learned about the meaning of red envelopes and lucky money. Parents and elders give youth red envelopes to wish them grow up healthily and safely in the new year. The children took terms to give a red envelope to their friend and said "Xīnnián kuàilè" (Happy New Year in Mandarin).
We wave goodbye to the dragon year and welcome the snake year.
| We were a long dragon moving to see the video. |
Deb showed the children some videos of lion dance and dragon dance. Chinese people believe that lion dance and dragon dance can bring people good luck and fortune for the New Year. The children also lined up to pretend doing dragon dance.
Click to see the videos (Chinese New Year for Kids)
We talked about how people write down good words and wishes for the new year on red paper. Chinese people write spring scrolls and hang them at home for Chinese New Year. Ann show children how to write "新年快樂" (Happy New Year) on spring scrolls.
| The children did the snake drawing for the coming-up snake year. |
Associating to our "generosity" unit, the children learned about the meaning of red envelopes and lucky money. Parents and elders give youth red envelopes to wish them grow up healthily and safely in the new year. The children took terms to give a red envelope to their friend and said "Xīnnián kuàilè" (Happy New Year in Mandarin).
Saturday, 26 January 2013
Weaving Project
The children practiced weaving with paper last Friday. This week, we started the weaving project with yarn. Mary read "The Very Busy Spider" by Eric Carle. We talked about that weaving is similar to spinning a spider web.
However, we were going to move yarn "over and under," "up and down" on a loom. In order to help the children to understand how to weave, we also watched a video together.
As well, Deb and Mary led the children to mimic the weaving movement "over and under" by walk in between chairs. We are like yarn going "over and under" on a loom!
| Lining up and pretending we were yarn! |
| Going "over and under" |
Linking with the generosity unit, the children started thinking about making this weaving project as a gift for our potlach party.
Wednesday, 28 November 2012
Colouring the Clay Project
We started our art activity with a story time today. Kathryn and Anamaria introduced and explained about what sign language is, how and when we can use sign language. We practiced how to sign colours and animals out by telling the story "Brown Bear, Brown Bear, What Do You See?" by Bill Martin. The children enjoyed signing the colours and animals from the book.
Then, then children wrapped up their clay project with adding colours to their clay creations. We used the primary colours, red, blue, and yellow. As well, secondary colours, orange, green, and purple.
Sunday, 18 November 2012
Clay Project
This Friday, the children carried on creating animals or things they like with clay. With a short review with Mary, the children can choose to use their planning pictures from last time or to make something new.

Some children followed their previous planning pictures. They carefully chose the shapes they would need for the animals. Having practiced the skills of using and manipulating clay, the children enjoyed creating animals or objects with clay.

Some children followed their previous planning pictures. They carefully chose the shapes they would need for the animals. Having practiced the skills of using and manipulating clay, the children enjoyed creating animals or objects with clay.
| I added some shrimps on my pizza! |
| Francine was rolling a long clay piece for the dragonfly's body. |
| Carefully matching the shapes. |
| Putting shapes together. |
| I used the wet towel when my clay was too dry. |
Sunday, 4 November 2012
Animal & Shapes
This Friday, the children started planning what animals or things they want to make for the clay project next week.
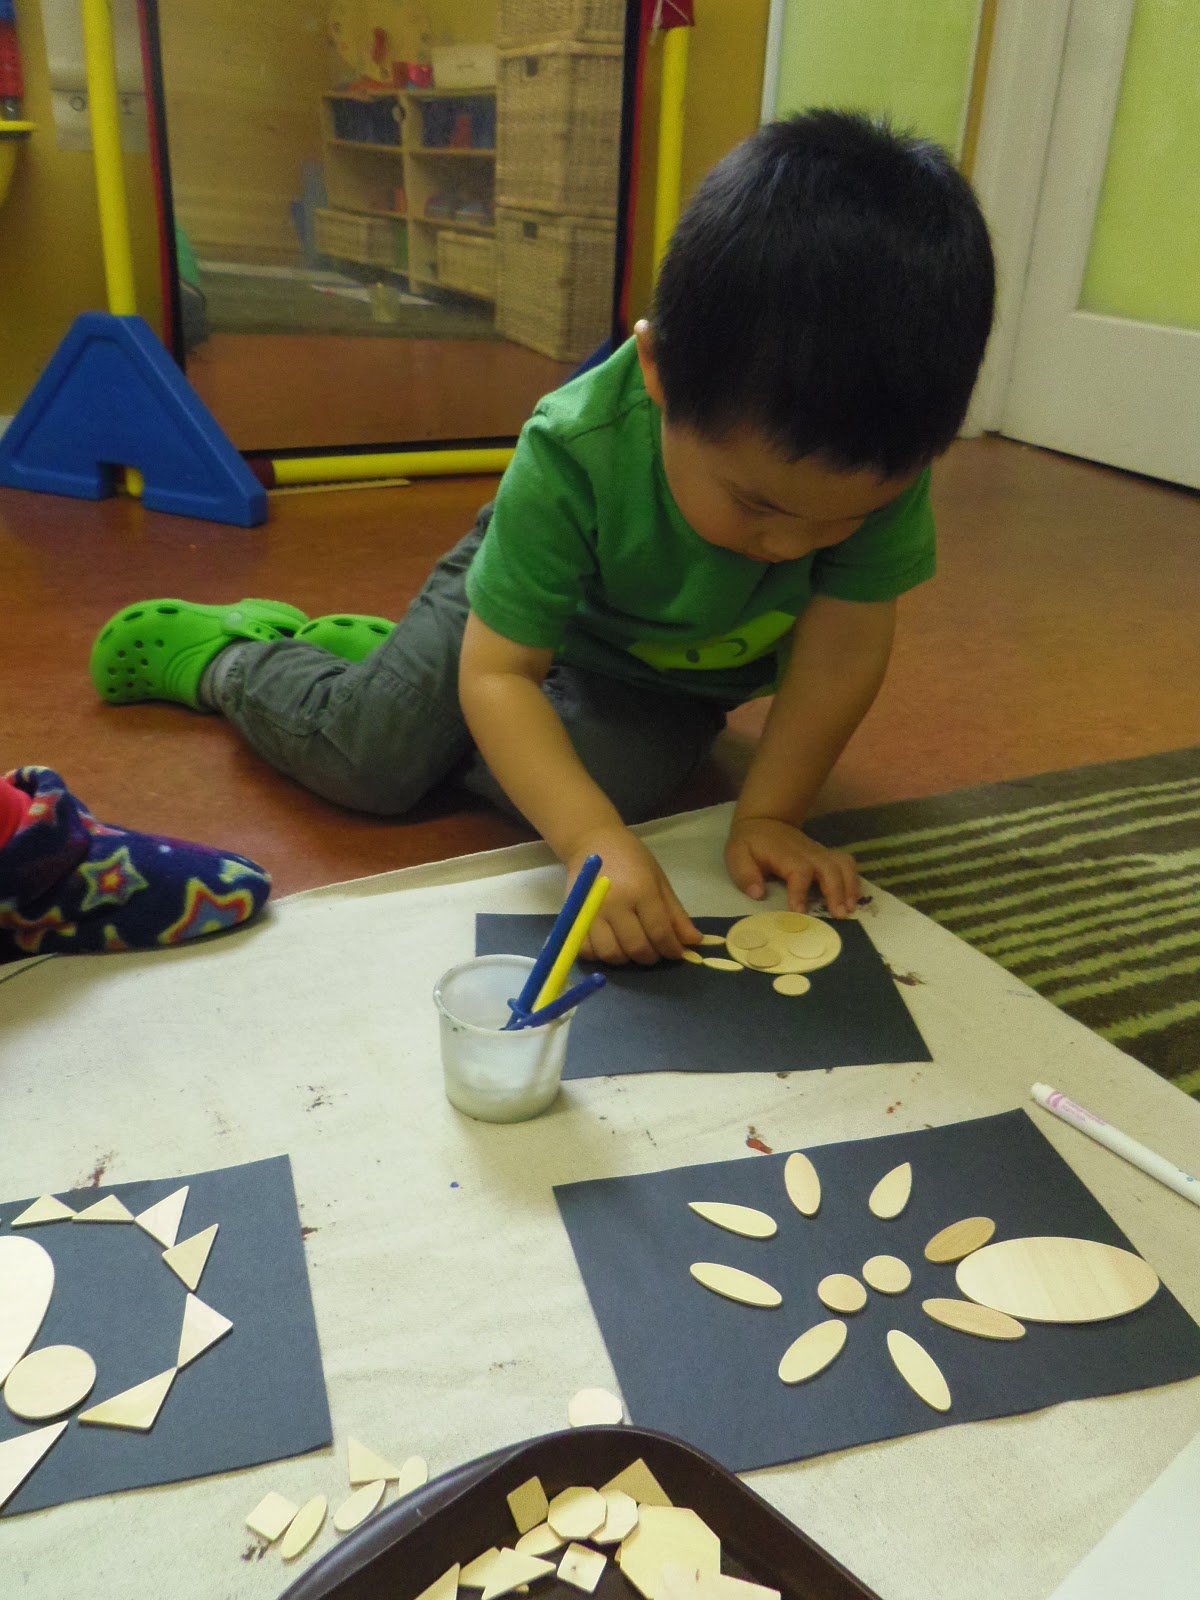
In small groups, the children brainstormed what shapes they need for the animals. With the teachers' and peers' help, children picked the wooden shapes they need and place on a piece of paper to form the picture.

Children were thinking carefully when they decided on where to place and to glue the shapes.
Step by step, children formed the blueprints for their clay project next week. From knowing the shapes to combining shapes into pictures, children will use the clay to create a three-dimension project next week.
| Let's draw the animals we want to make. |
| focusing on drawing. |
In small groups, the children brainstormed what shapes they need for the animals. With the teachers' and peers' help, children picked the wooden shapes they need and place on a piece of paper to form the picture.
Children were thinking carefully when they decided on where to place and to glue the shapes.
Step by step, children formed the blueprints for their clay project next week. From knowing the shapes to combining shapes into pictures, children will use the clay to create a three-dimension project next week.
Subscribe to:
Posts (Atom)