Then, then children wrapped up their clay project with adding colours to their clay creations. We used the primary colours, red, blue, and yellow. As well, secondary colours, orange, green, and purple.
Wednesday, 28 November 2012
Colouring the Clay Project
We started our art activity with a story time today. Kathryn and Anamaria introduced and explained about what sign language is, how and when we can use sign language. We practiced how to sign colours and animals out by telling the story "Brown Bear, Brown Bear, What Do You See?" by Bill Martin. The children enjoyed signing the colours and animals from the book.
Sunday, 18 November 2012
Clay Project
This Friday, the children carried on creating animals or things they like with clay. With a short review with Mary, the children can choose to use their planning pictures from last time or to make something new.

Some children followed their previous planning pictures. They carefully chose the shapes they would need for the animals. Having practiced the skills of using and manipulating clay, the children enjoyed creating animals or objects with clay.


Some children followed their previous planning pictures. They carefully chose the shapes they would need for the animals. Having practiced the skills of using and manipulating clay, the children enjoyed creating animals or objects with clay.
 |
| I added some shrimps on my pizza! |
 |
| Francine was rolling a long clay piece for the dragonfly's body. |
 |
| Carefully matching the shapes. |
 |
| Putting shapes together. |
 |
| I used the wet towel when my clay was too dry. |


Sunday, 4 November 2012
Animal & Shapes
This Friday, the children started planning what animals or things they want to make for the clay project next week.
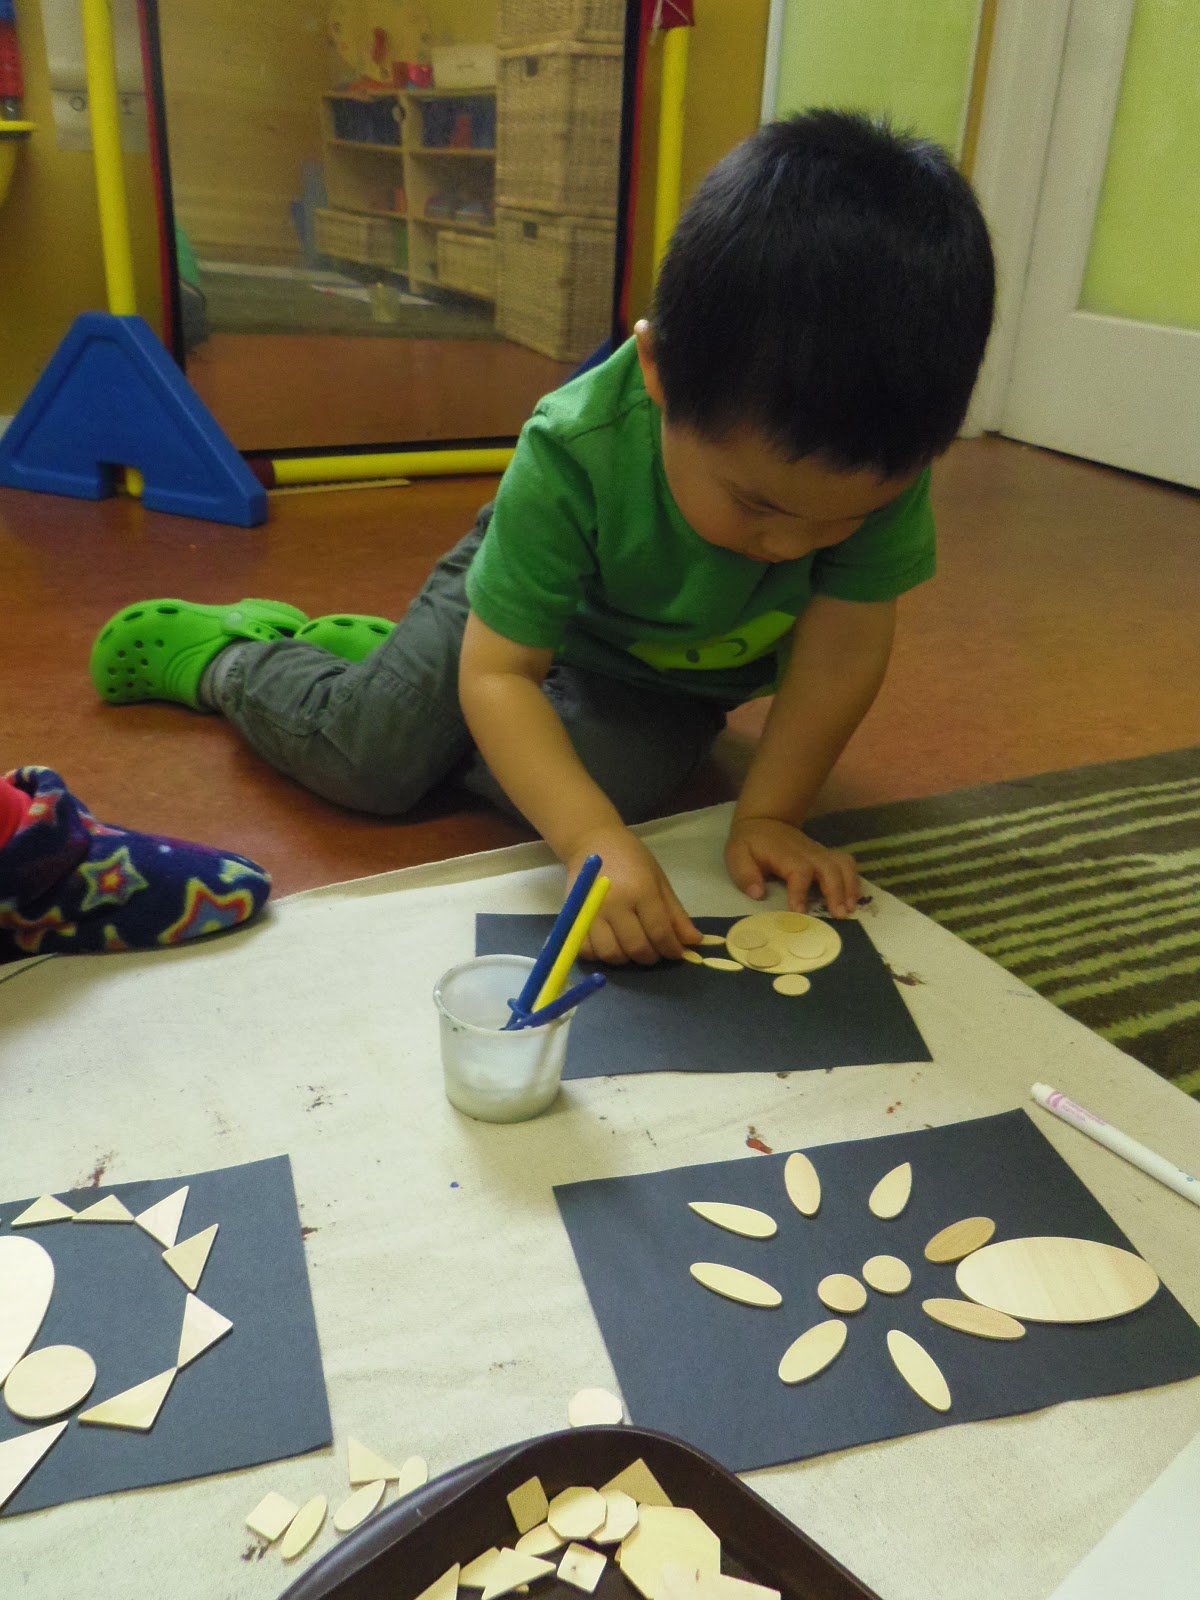
In small groups, the children brainstormed what shapes they need for the animals. With the teachers' and peers' help, children picked the wooden shapes they need and place on a piece of paper to form the picture.

Children were thinking carefully when they decided on where to place and to glue the shapes.
Step by step, children formed the blueprints for their clay project next week. From knowing the shapes to combining shapes into pictures, children will use the clay to create a three-dimension project next week.
 |
| Let's draw the animals we want to make. |
 |
| focusing on drawing. |
In small groups, the children brainstormed what shapes they need for the animals. With the teachers' and peers' help, children picked the wooden shapes they need and place on a piece of paper to form the picture.

Children were thinking carefully when they decided on where to place and to glue the shapes.
Step by step, children formed the blueprints for their clay project next week. From knowing the shapes to combining shapes into pictures, children will use the clay to create a three-dimension project next week.
Saturday, 27 October 2012
Clay Fun
This Friday, the children had a chance to explore and manipulate a new art material - clay.
The teachers showed the children some picture books and illustation about shapes that can be made by clay. Then, the children had plenty time to manipulate and be familiar with clay.
The children gained some tactile experience; as well, they learned the skills to work with clay, like rolling, punching, squeezing and pinching.
 |
| I can stack little pieces of clay up! |
 |
| I can pinch clay into small pieces. |
 |
| My clay became long and narrow when I roll it! |
 |
| Squeeze the clay with two hands! |
 |
| Punch! Punch! I can make my clay flat. |
With the tactile experience and practice, the children started to make different shapes and to create thing they want to make!
 |
| Look! I made a spiral! |
 |
| "I made a circle!" |
 |
 |
| "This is a flat dress!" |
 |
| We all got white hands at the end! |
Sunday, 21 October 2012
More Art with Shapes
Mary read "Architect of the Moon" by Tim Wynne-Jones to the children; the story was about a little boy uses his imagination and different shapes of blocks to re-build the Moon. Then, we talked and learned more shapes in our environment. A half circle is called a semi-circle. Pentagons have five sides. A stop sign is an octagon!
Then, the children had a chance to visit three different art stations about shapes. Mary and children traced the foam blocks on the big paper. Children combined different shapes to create a huge painting!
Anamaria and children used the overhead projector to trace shapes out on the whiteboard. Children enjoyed tracing the contour line of different shaped shadows.
Ann and children used yarn to do lacing with different shapes. the yarn goes up and down around triangles, circles, squares, and rectangles. Children got to use markers to decorate their shapes as well.
Anamaria and children used the overhead projector to trace shapes out on the whiteboard. Children enjoyed tracing the contour line of different shaped shadows.
Sunday, 14 October 2012
Creative shapes
This Friday, we reviewed the shapes we know, triangle, square, circle, and oval. We categorized these shapes into two groups: shapes with points or corners & round shapes without points or corners.
We also made a connection with our environment. Kathryn played "I Spy" game with the children to find some shapes we have in our classroom. The children were very creative; they said their cheeks are like two circles. As well, we can make oval shapes with our mouths!

Children also watched a clip of "Mouse Shapes" story. We all enjoyed the creative pictures the three mice make in the story. Here is the link that Brian tells the story: http://www.youtube.com/watch?v=8_9_AmQAM1g
Then, children used their creativity like the three mice do in the story to make picture with shapes. We glued triangle, square, circle, and oval to make colourful pictures.
 |
| We glue triangle, square, circle, and oval! |
 |
| I made a house with a triangle and a square! |
Friday, 5 October 2012
Form shapes with lines & strings
For October, we are going to learn about shapes. As a transition, we started with the story "Just how long can a long string be?!" by Keith Baker; therefore, children were able to move to our new topic "shapes" slowly and smoothly. Children learned the concept that strings (lines) can wrap around object or create the outline of a shape.
Ann also read "Mouse Shapes" by Ellen Stoll Walsh. Children learned about the characters of shapes. For example, "any shapes with three sides is a triangle." It was also interesting to see what the three little mice can make with triangles, circles, squares, and rectangles in the story.
Children had the chance to trace triangles, circles, squares, and rectangles with their fingers or markers in small groups. Then, children glued yarn to make contours of different shapes. Children were familiar with triangles, circles, squares, and rectangles; as well, they enjoyed creating pictures with these shapes.
 |
| Children used yarn for contour lines |
Ann also read "Mouse Shapes" by Ellen Stoll Walsh. Children learned about the characters of shapes. For example, "any shapes with three sides is a triangle." It was also interesting to see what the three little mice can make with triangles, circles, squares, and rectangles in the story.
 |
| We can create our own pictures with triangles and squares! |
Children had the chance to trace triangles, circles, squares, and rectangles with their fingers or markers in small groups. Then, children glued yarn to make contours of different shapes. Children were familiar with triangles, circles, squares, and rectangles; as well, they enjoyed creating pictures with these shapes.
Subscribe to:
Comments (Atom)


